How to Change Text in Multiple PowerPoint Files
This topic presents the detailed step-by-step instructions how to update text in many Microsoft PowerPoint files.
1. Set the Files to Process
- Select the Microsoft PowerPoint Files tab.
- Now you have two options:
- process only the files you select, or
- process all files in a directory of your choice.
The latter option is more for the power users. If you are reading this topic then an assumption of you being a novice user is more than fair, so let's focus on the files.
- Click Add Files... :
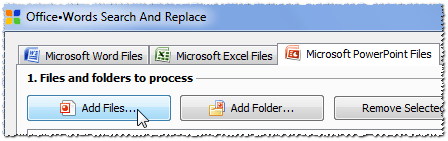
The standard Windows file open dialog will show up. Select one or more files and click Open.
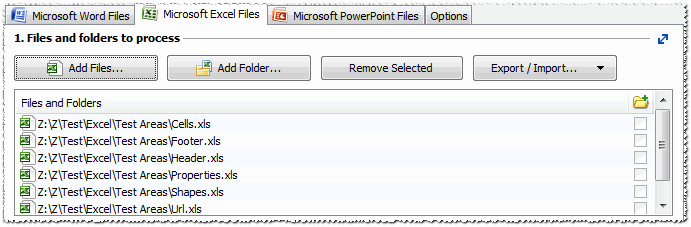
- The files are now added to the files-to-process view:
- There is one important thing to mention. The checkboxes you see on the
right:
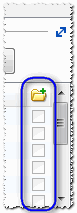 are used with
folders only, to denote that the folder's subfolders are also to be scanned
for files:
are used with
folders only, to denote that the folder's subfolders are also to be scanned
for files: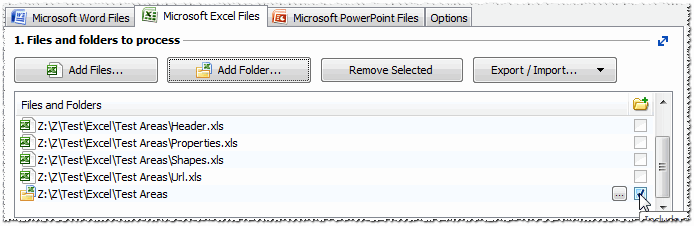 With
files, these checkboxes are inactive and have no effect.
With
files, these checkboxes are inactive and have no effect.
2. Set Text to Find and Replace
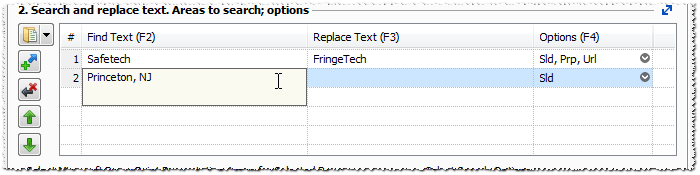
- Now set the find and replace strings. Assume your company is being renamed from Safetech to FringeTech, and you're moving from Princeton, NJ to Boston, MA.
- When you start the program for the first time, a sample row is
automatically added to help you get started. If you deleted all the rows form
the search/replace grid, add one by clicking
 on the left.
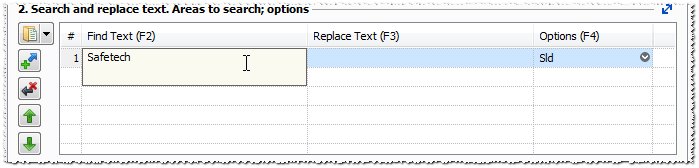
- So, in the text grid, click the first cell in the Find Text column.
The cell will miraculously turn into a small text editor. Type "Safetech"
here:
- Hit Enter to confirm entry. The editor will move to the Replace
Text cell:
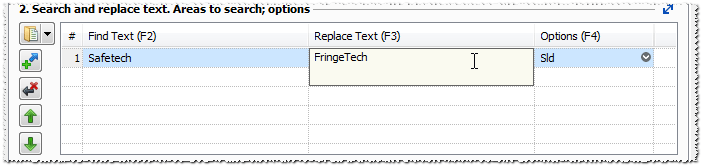
- Hit Enter again. This will move to the next row's find text, or add
a new row if required:
- To select areas in which the text of the current row will be searched for,
you can click the third cell (in the Options column):
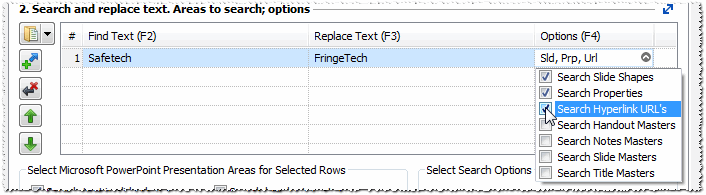 Here, we have selected
to search in the presentation slides, file properties, and the Internet
addresses.
Here, we have selected
to search in the presentation slides, file properties, and the Internet
addresses.
- Add more search and text as required.
- Here's the final setup:
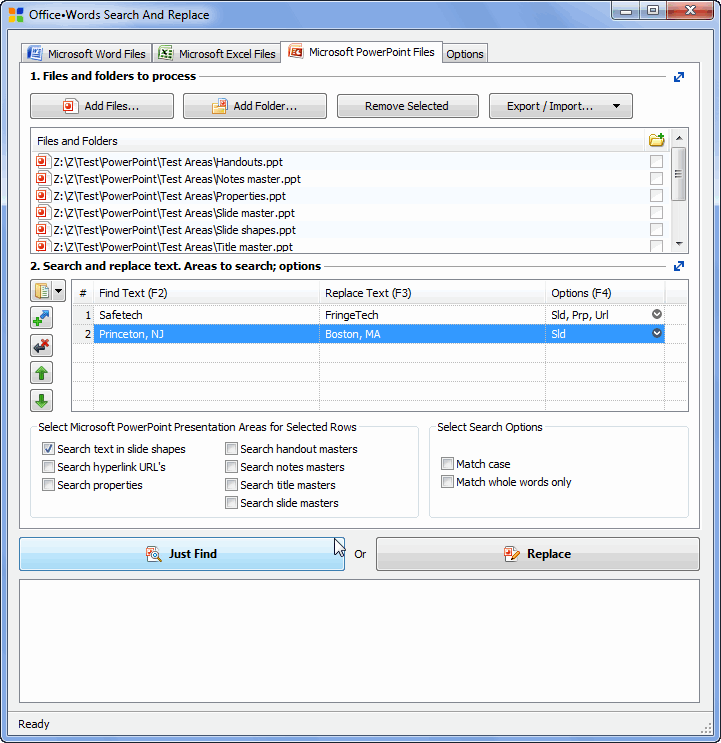 We have added a third
row just for the purpose of this demo.
We have added a third
row just for the purpose of this demo.
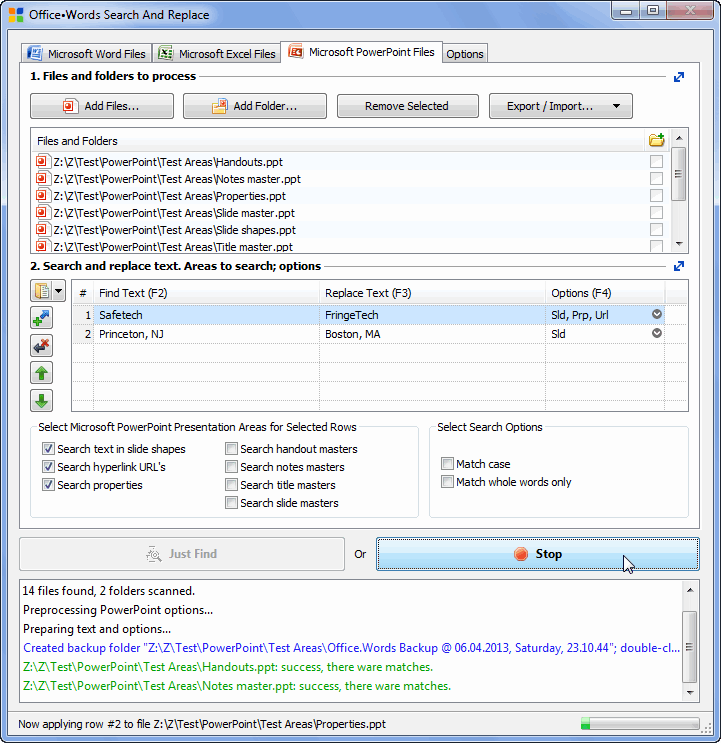
Notice that you can change the search areas for more than one text row at a time: just select the rows and use the checkboxes in Select Microsoft Excel Worksheet Areas for Selected Rows group. - Now, click Replace to perform actual replacements, or Just
Find to locate the documents containing the text:
- That's all! Now you can use up the time you've just saved for something useful like playing Solitaire.